Indoor Seedling Setup – Everything You Need from Amazon Under $250
In 2024, I took my first steps into gardening with a 2.5x20 ft raised garden bed that my husband kindly built for me. At the time, I wasn’t sure if I was ready to dive fully into the hobby, so I started with store-bought seedlings from Al’s, Home Depot, Lowe’s, and a local farm to give myself the best chance at success. And guess what? The harvest was amazing—I completely fell in love with gardening!
However, one downside to relying on pre-grown seedlings is that your options are limited. There’s only so much variety available at stores, and I wanted to expand my garden with unique fruits, vegetables, and flowers. That’s why, in 2025, I committed to starting seeds indoors.
After a lot of research and trial and error, I finally found the perfect indoor seed-starting setup that met my main criteria:
✔ Low-maintenance – Minimal effort required once it’s set up
✔ Cost-effective – Under $250 for everything
✔ Compact – Doesn’t take up too much space
✔ One-time purchase – No need to rebuy expensive supplies each year
Since I live in Zone 8b, we barely get consistent sunlight and warmth until mid-April, which is way too late for seeds to start by a window. That’s why I built this setup—and now, two to three weeks in, my seedlings are thriving! So, I had to share my setup in case you want to do the same.
Indoor Seed Starting Essentials
When starting seeds indoors, heat, light, and moisture are your best friends. Here’s what you’ll need:
✅ Grow Lights – Since natural light is unreliable in early spring, grow lights provide the full-spectrum light seedlings need.
✅ Heat Mats – Seeds germinate best in warm soil. A heat mat ensures a steady, controlled temperature.
✅ Seed Starter Trays + Humidity Domes – A good seed-starting tray with individual cells and a clear dome locks in moisture and warmth, speeding up germination.
✅ Shelving Unit (Optional but Highly Recommended!) – Keeps everything organized and easy to access, especially if it's on wheels.
✅ Smart Plug – Automates your grow lights so they turn on and off at the right times (seeds need about 16 hours of light per day).
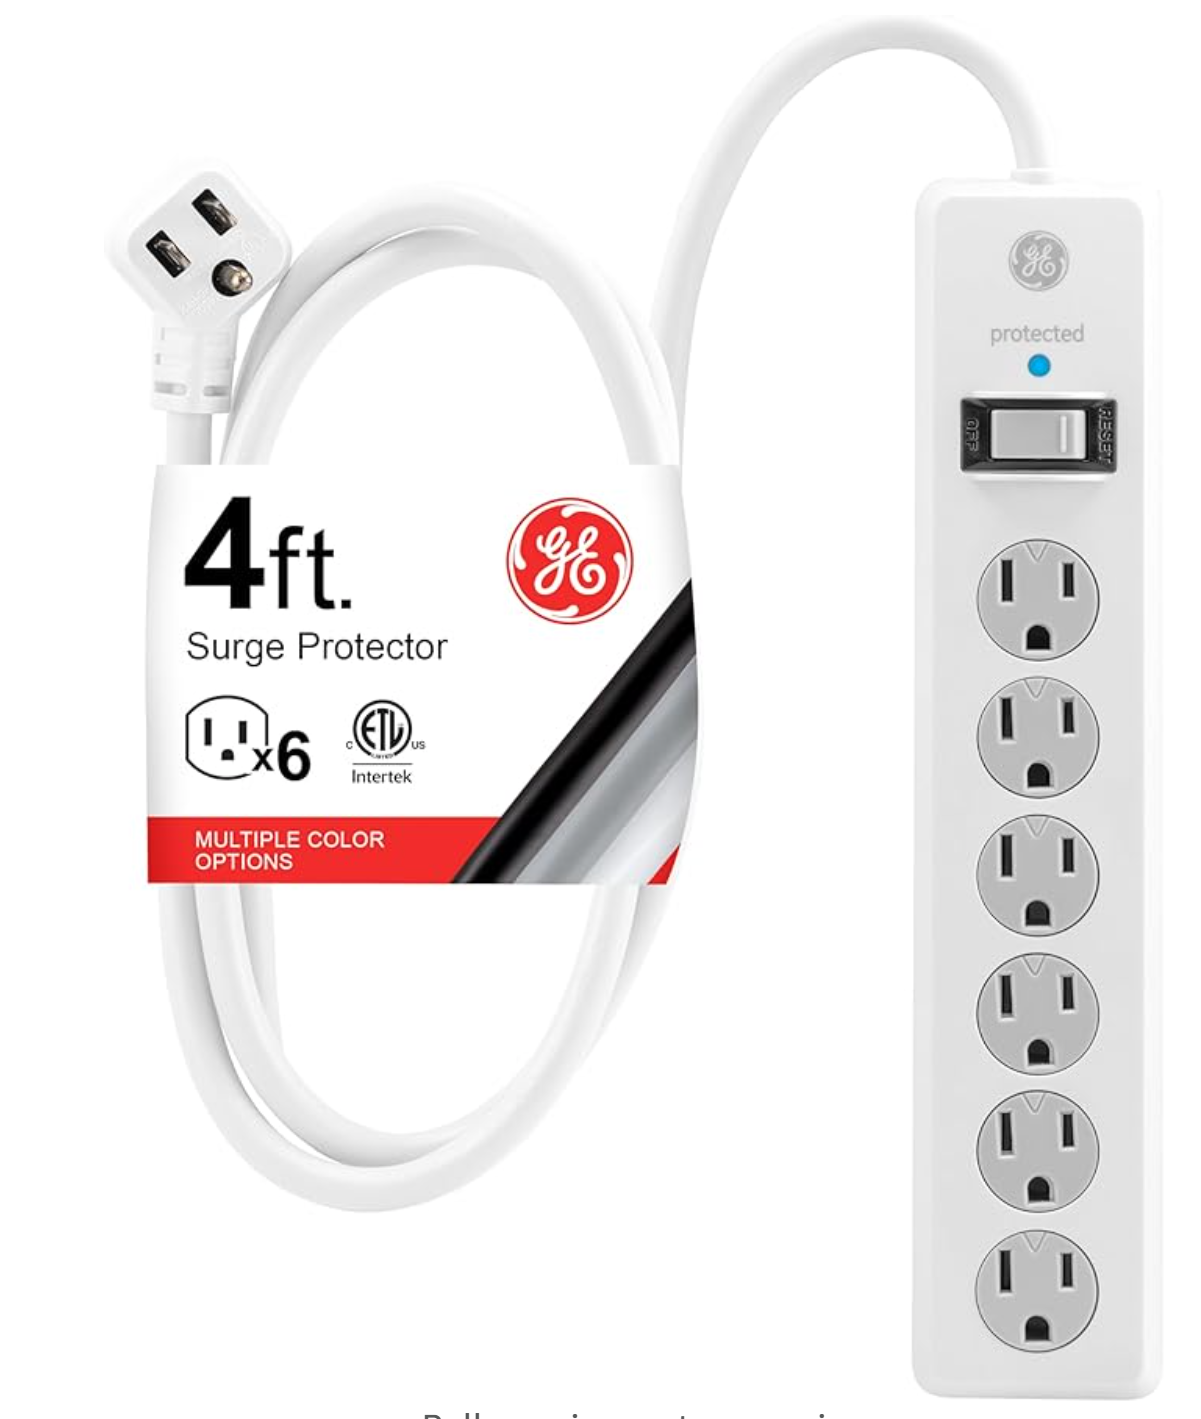
✅ Power Strip – Helps safely connect all your devices, especially if you’re running multiple heat mats.
✅ Spray Bottle – The gentlest way to water delicate seedlings without washing them away.
Supplies & Where to Get Them
I purchased everything from Amazon for under $250, and here’s exactly what I used:
1. Shelving Unit with Grow Lights
🛒 5-Tier Metal Shelf with Grow Lights
✔ Comes with 5 grow lights, 5 plastic mats, and hanging hooks
✔ Sturdy metal shelves on wheels for easy movement
✔ Watch for discounts! I got mine with a $30 coupon
2. Smart Plug (For Automating Grow Lights)
🛒 Kasa Smart Plug
✔ Controls the grow lights from your phone
✔ Easy scheduling for the recommended 16 hours of light per day
3. Heat Mats for Germination
🛒 10x20 Heat Mats (I purchased 4)
✔ Maintains a steady soil temperature for fast germination
✔ I run these 24/7 to keep my seedlings warm
4. Power Strip (For Connecting Heat Mats & Lights)
🛒 GE Power Strip
✔ Essential for safely plugging in multiple devices
5. Seed Starter Trays with Humidity Domes
🛒 5-Pack of 15-Cell Seed Trays
✔ Includes trays, seed cells, and humidity domes
✔ Ensures high moisture retention for faster germination
This compact, affordable, and efficient setup has been a game-changer for my garden! 🌱 Instead of relying on store-bought seedlings, I can now grow exactly what I want, save money, and start my garden earlier in the season. If you’re in Zone 8b (or anywhere with unpredictable spring weather), this setup ensures your seeds get the best start indoors.
I’ll be sharing updates on my seedlings as they grow, so stay tuned! Let me know if you try this setup or if you have any other budget-friendly seed-starting tips. Happy gardening!


